How to Set Up Whitelisting for Facebook Ads
This blog has been updated and can be found at: www.foxwelldigital.com/blog/how-to-set-up-whitelisting-for-meta-ads
Whitelisting (n): Running an ad via a brand’s Business Account/Ad Manager that appears to run as another account (likely an influencer or another account)
What does this mean, exactly, and why would you use it?
Great question.
Brands like to run whitelisted ad content usually to give another layer of social proofing in that more than just the brand itself is advertising for their product or service.
With regard to influencer content, one option is a regular brand post (aka a “Buyout”) is that the creator creates content for a brand and transfers the rights of use, then the brand uses the content for their organic or paid channels and the reach and profile of the influencer is not used.
Another option is Branded Content (on Facebook — TikTok calls this a Spark Ad), which is where the creator posts content natively and organically on their own profile and includes the “paid partnership” toggle in their post and tags the brand. They also must turn on the ability for the brand to use it in advertising. Once the brand accepts, you can run the organic post as a branded content ad via Ads Manager using the “Existing Post” feature in the ad setup section, and the “Branded Content” tab.
Finally — whitelisting. Running ad ad essentially from the creator/influencer’s account, but through the brand’s Business Manager. Aka, the brand still pays for the ads, sees the ad in Ads Manager like they would any other ad, and gets all the data.
Get Started Setting Up an Account for Whitelisting.
Step 1:
The creator must have a Business Manager of their own that connects their Facebook creator page and/or their Instagram account. They don’t have to have both, but it’s a plus if they do.
If they have this already, GREAT! Move to Step 2.
If not:
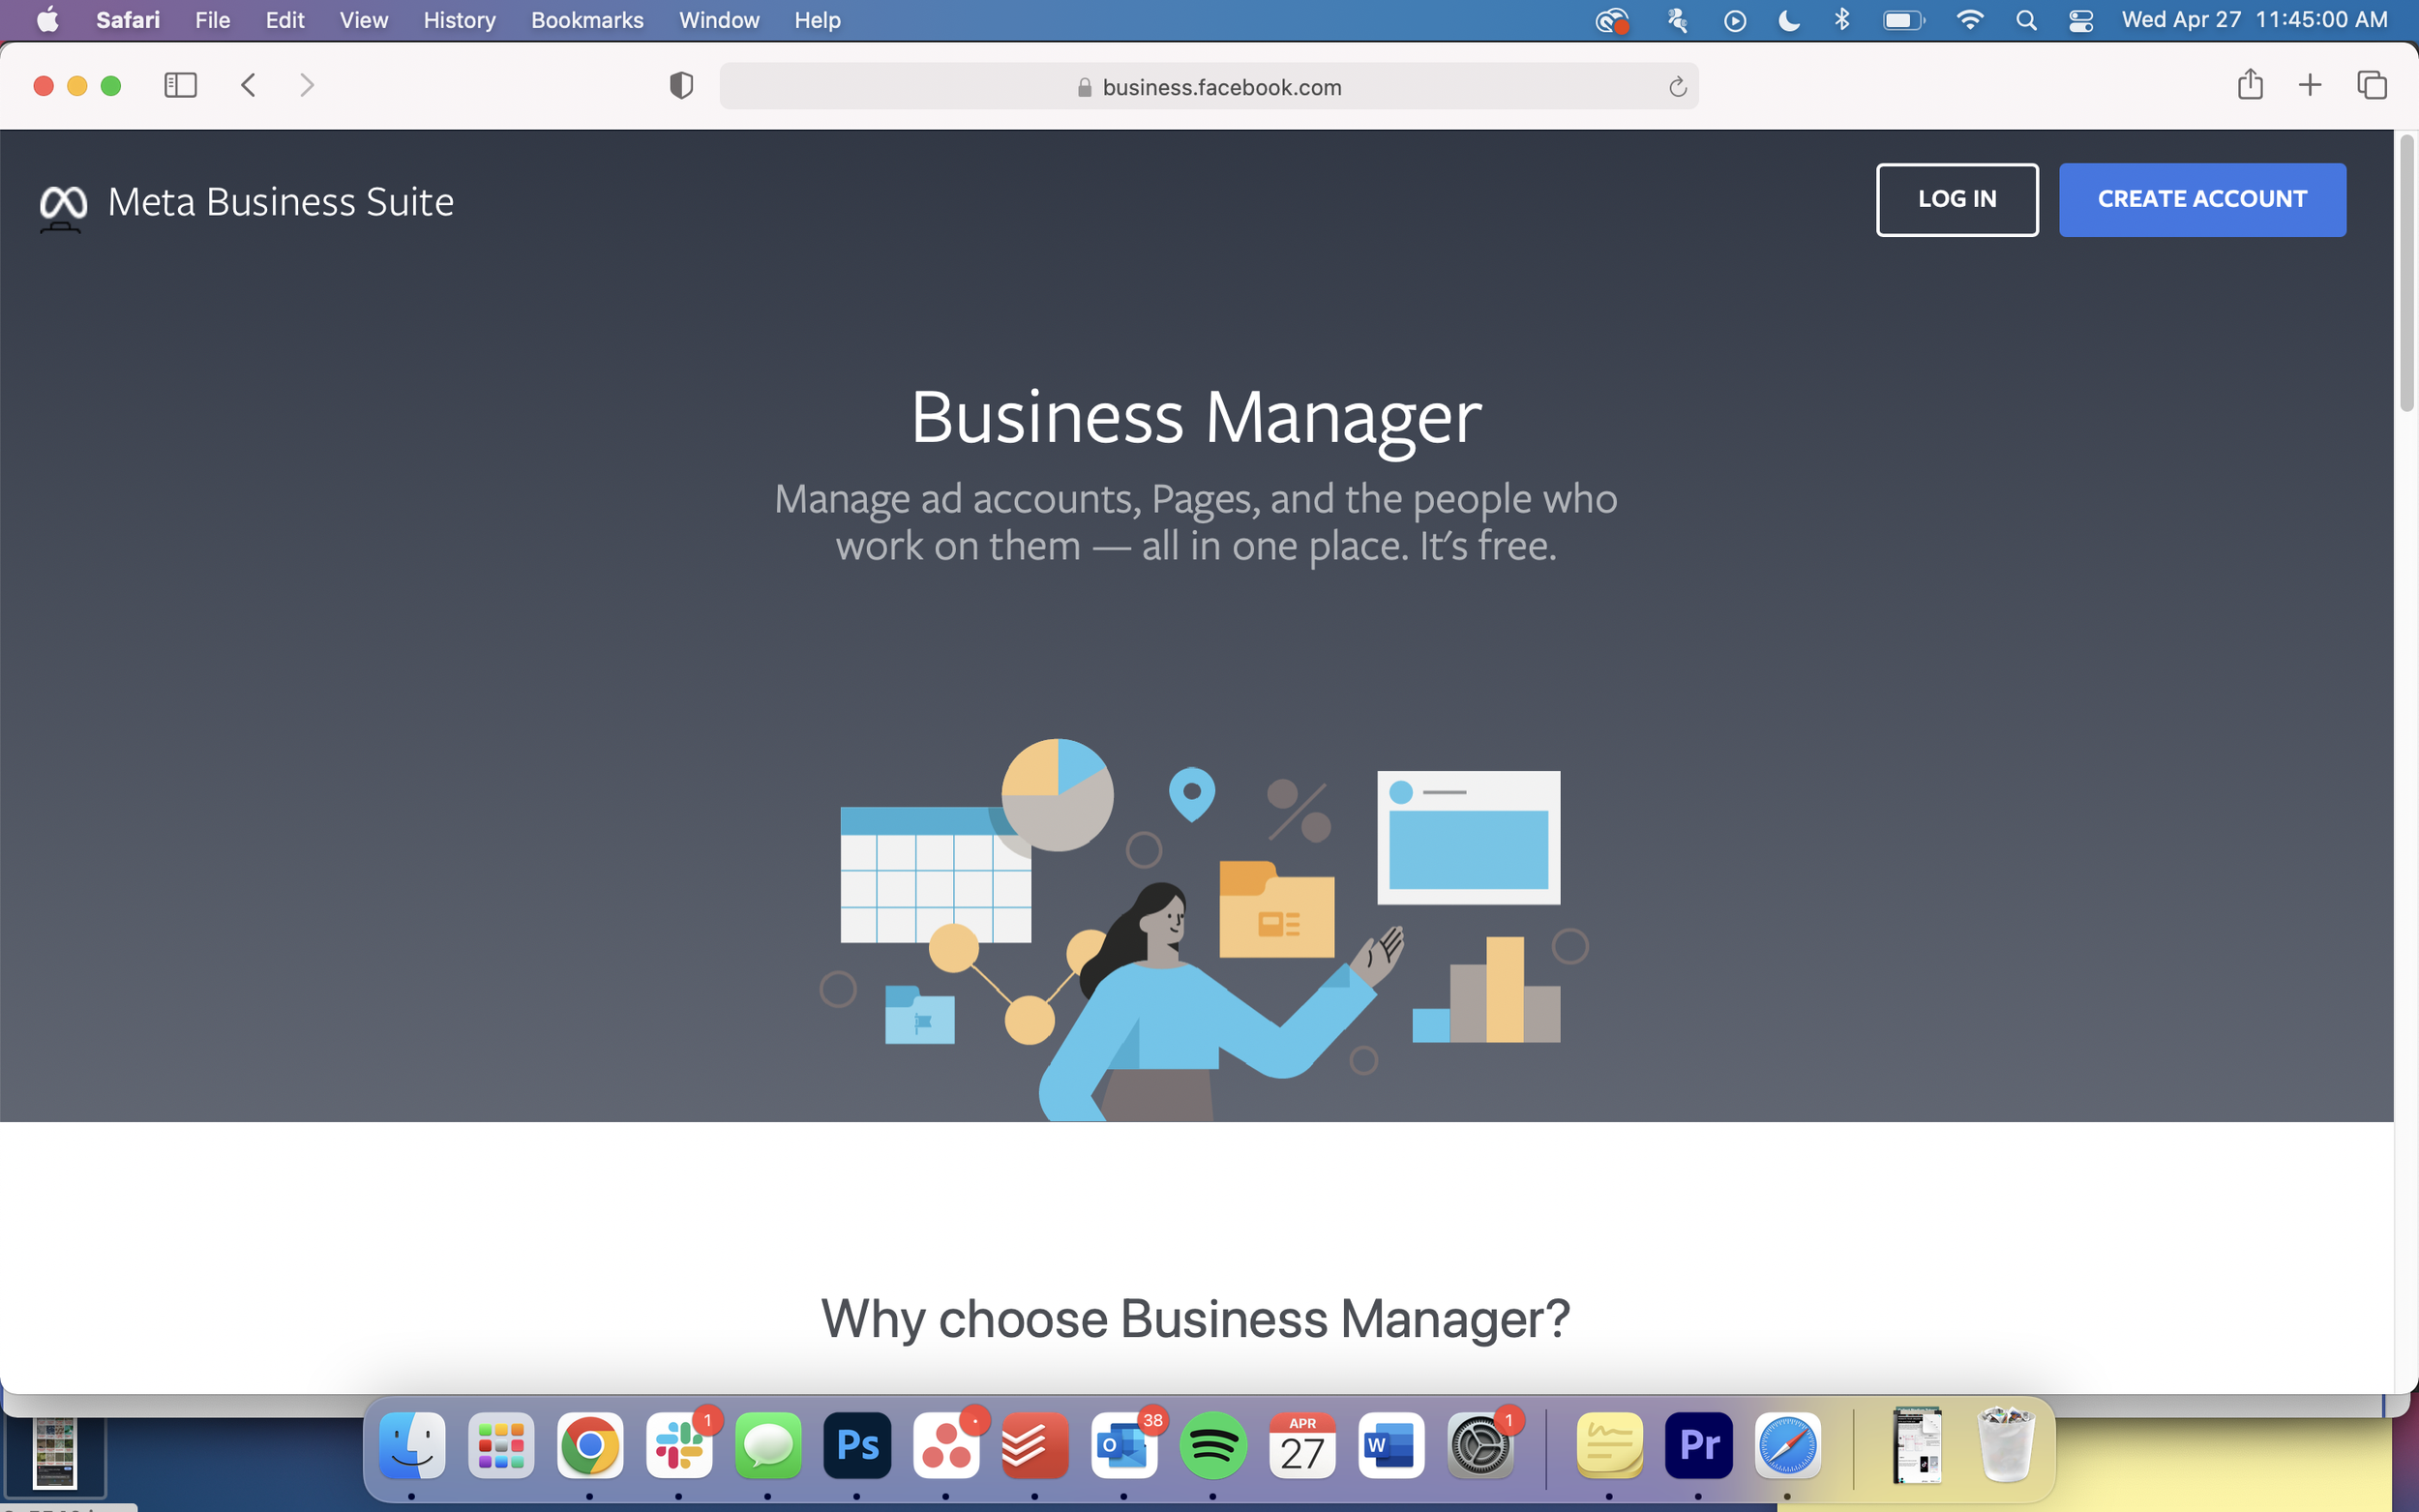
Have them go to business.facebook.com
Click “Create Account”
Log in to Facebook if you aren’t already logged in
Verify your email address
Did you know we have a full course on Influencer Marketing?
Step 2:
If your Facebook and Instagram account are already connected to your Business Manager and you already have assigned yourself access to them, GREAT! Move ahead to Step 6.
In Business Manager:
Navigate to the “Pages” tab on the left
Add a page to connect a Facebook account. You’ll likely either need to create a page altogether at this step if you don’t have a Facebook page as a creator, OR “Add a Page” if you already have an existing page that you’re an admin of and just need to claim it/transfer it to your new Business Manager
Step 3:
Once the Facebook page is connected, go to the “Instagram Account” tab on the left column
Click “Add” and then “Connect Instagram account”
Log in to your Instagram account
Step 4: (this step is optional)
Navigate back to the “People” tab under “Users”
Click on your name
Click “Add Assets”
Under “Pages,” find your Facebook account you just connected on the left under either New Pages Experience or Classic Pages
Scroll to the bottom and give full control to yourself
Step 5: (this step is optional)
Scroll down on the same screen to “Instagram Accounts”
Choose your Instagram account
Turn all toggles to the right (to blue)
Click “Save Changes”
Step 6:
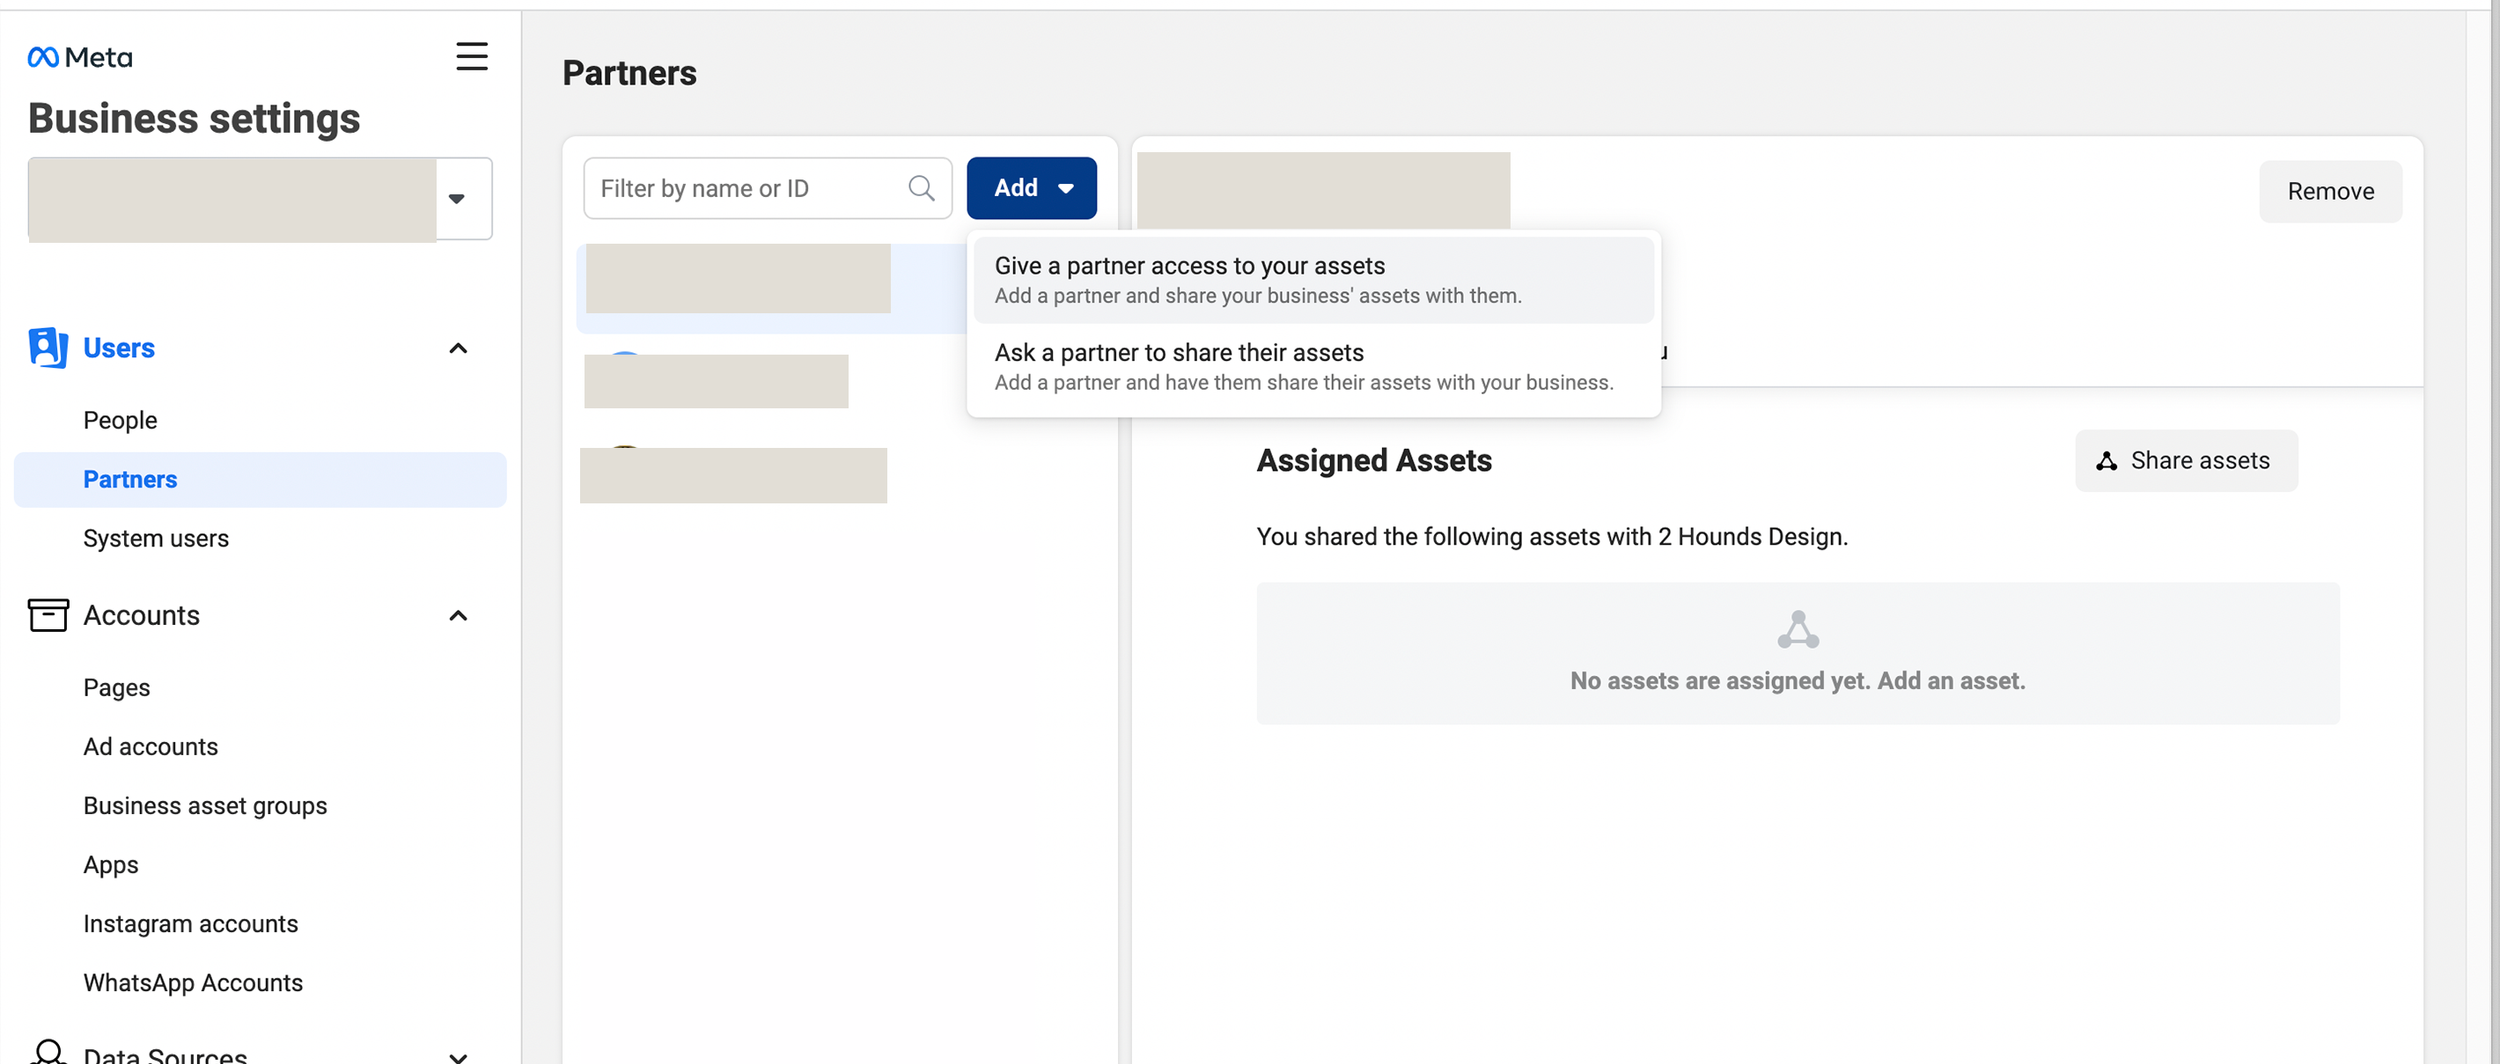
Navigate to the “Partners” tab on the left column
Click “Add”
Click “Give a Partner Access to your Assets”
Paste the Partner Business ID number of the account you will be whitelisting for gave you (It’s a string of a bunch of numbers)
Give them access to your Facebook and Instagram page (Follow the same steps that you did in Steps 4 & 5)
Make sure that you at least give them access to “Content” and “Ads” but feel free to give all access if you wish
Love useful content like this? Check out the Founders Membership for daily access to valuable ad buying, email, SMS, agency/business information, and more.


